

Microsoft Cost Management is Azure’s native suite for analyzing, monitoring, and optimizing cloud spend, and the fastest way to get value from it is to open Cost Analysis and set a basic budget today. From there, the platform’s budgets, alerts, exports, and reservation recommendations give you the visibility and controls you need to keep spending predictable.
TL;DR:
- Use billing account or management group scope for companywide spend, and resource group scope for one application; Cost Management Reader grants visibility without purchase authority.
- Forecasts require at least 90 days of historical spend; new subscriptions may take time to populate, so use scheduled exports or the API for recurring reports.
- Set monthly or quarterly budgets with resource filters and alerts at 50%, 80%, and 100%; enable anomaly alerts separately to catch unusual daily spikes.
- Check commitment utilization and right size workloads before buying; recommendations use 7, 30, and 60 day usage windows and can lag purchases by several days.
Table of Contents
- What Microsoft Cost Management includes and how it fits into Azure
- How Cost Management and Billing relate: scopes, roles, and who should see what
- Cost Analysis, forecasting, exports, and Power BI for recurring reporting
- Budgets, alerts, and anomaly detection for proactive monitoring
- Reservations vs savings plans: how recommendations work and when to buy
- Governance: organizing subscriptions, tags, and cost allocation
- Quickstart checklist: 8 steps to start monitoring and controlling Azure spend
- When to handle Cost Management in-house and when to bring in support
- How Mavericks Office Solutions helps you control Azure spend
- FAQ
- Sources
What Microsoft Cost Management includes and how it fits into Azure
Microsoft Cost Management ships with every Azure subscription and gives you one place to track and act on cloud spend. The core toolset covers Cost Analysis, budgets, cost alerts, anomaly alerts, reservation-utilization alerts, scheduled alerts, cost allocation, exports, and a Cost Details API for programmatic access.
You can work with these tools at several scopes: billing account, management group, subscription, or resource group. Picking the right scope matters because it determines whose spending you see and who else can see it. A finance lead reviewing total company spend needs the billing-account or management-group view, while an engineering lead tracking a single application usually only needs resource-group visibility.
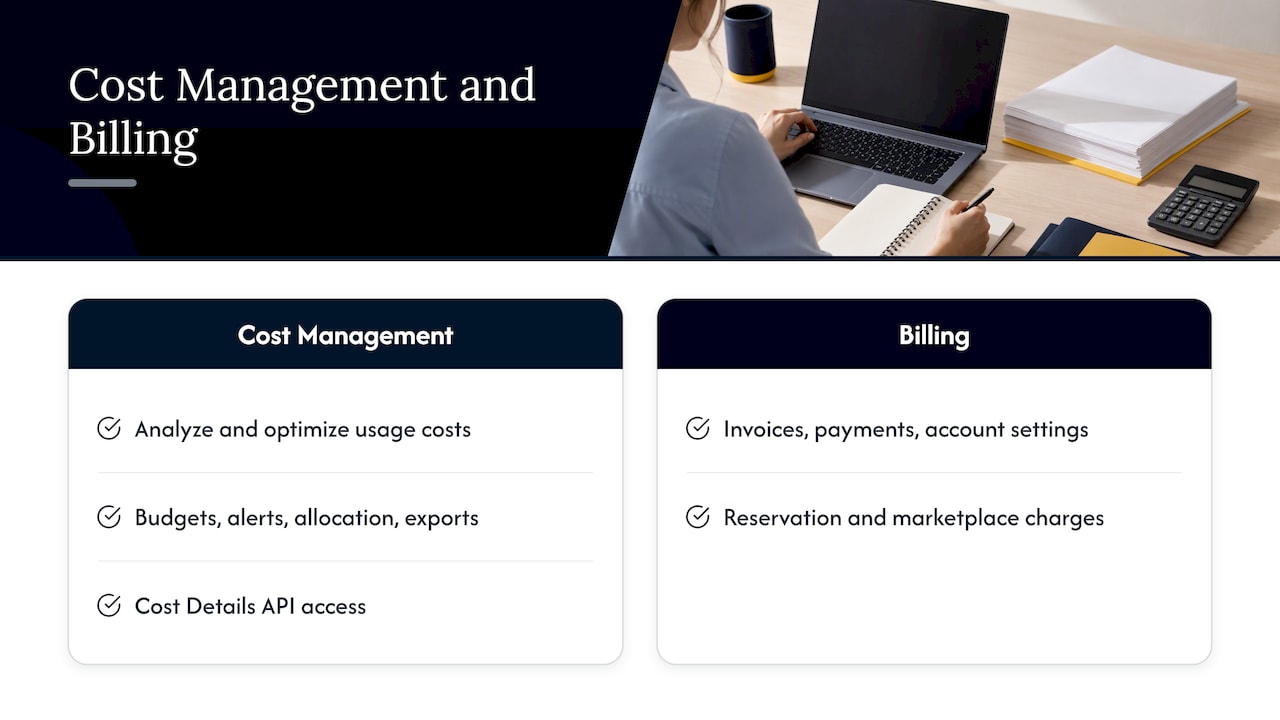
It helps to separate Cost Management from Billing early on. Cost Management is where you analyze and optimize usage costs, while Billing handles invoices, payments, and account settings. Some data, including reservation purchases and marketplace charges, only shows up at billing scopes, so you may need both views depending on what you’re trying to answer.
How Cost Management and Billing relate: scopes, roles, and who should see what
Billing scopes and Azure RBAC scopes solve different problems, and mixing them up leads to either locked-out teams or over-permissioned ones. Billing scopes control who can view invoices and make purchases. Azure RBAC scopes, applied at the management group, subscription, or resource group level, control who can view or configure cost data inside Cost Management itself.
For most organizations, assigning least-privilege access means giving Cost Management Reader to anyone who needs visibility, like team leads and project owners, and reserving Cost Management Contributor for the people who configure budgets and exports. Management group roles roll up automatically to nested subscriptions, so assigning access at that level can save a lot of repetitive setup.
A practical rule we recommend: let spend owners see their own costs, but keep invoice and payment access limited to a small group of billing admins. This separation keeps cost visibility wide while keeping financial authority narrow, which also happens to be a core FinOps principle described by IBM’s work on FinOps governance.

Cost Analysis, forecasting, exports, and Power BI for recurring reporting
Cost Analysis gives you two main paths: smart views built around common questions (spend by service, by resource group, by location) and custom views you build and save for recurring reviews. Smart views include built-in KPIs and anomaly insights, which makes them a good starting point before you invest time in a custom layout.
Forecasting inside Cost Analysis relies on historical usage patterns, and accuracy improves with more data behind it. Microsoft recommends at least 90 days of historical spend for a forecast that holds up over a full year, so don’t expect precise annual projections from a brand-new subscription.
For anything recurring, skip manual exports. A few better options:
- Schedule automated exports to deliver cost data to storage on a set cadence.
- Use the Cost Details API when you need to pull data into an external finance system or data warehouse.
- Connect the Cost Management Power BI app when you want dashboards that blend cost data with other business metrics.
Manual downloads work fine for a one-time review, but they fall apart the moment two people need the same numbers on the same schedule. Scheduled exports and the API remove that friction entirely.
Budgets, alerts, and anomaly detection for proactive monitoring
Budgets only help if someone actually sees the alert before the bill arrives, so the setup matters as much as the number you pick. A well-configured budget includes a time grain, a spend threshold, filters for the resources you care about, and more than one notification point.
- Set a monthly or quarterly time grain and define the budget amount and currency that match how your finance team reports spend.
- Apply filters so the budget tracks a specific resource group, subscription, or service instead of your entire environment.
- Add multiple threshold notifications, such as 50%, 80%, and 100% of budget, instead of a single alert at the end.
- Route alerts to contact emails and contact groups for human visibility, and to action groups when you want an automated response, like disabling a resource.
- Turn on anomaly alerts separately from scheduled budget alerts since anomaly detection catches unusual daily spikes that a monthly budget might miss until it’s too late.
Reservation-utilization alerts deserve their own mention here: they flag underused commitments before you waste the spend you already committed to, which is a different signal than a budget threshold and worth monitoring on its own schedule.
Reservations vs savings plans: how recommendations work and when to buy
Reservations commit you to a specific VM size or SKU in a specific region, while savings plans commit you to a dollar amount of hourly spend across a broader range of eligible services. Both exist to lower your effective rate below pay-as-you-go pricing, but the right choice depends on how predictable your resource mix is.
Azure generates reservation and savings-plan recommendations by simulating your hourly usage over 7, 30, and 60-day lookback windows and comparing what you would have paid under a commitment versus on-demand pricing. These recommendations already account for reservations and savings plans you own, so they adjust as your commitment coverage changes.
One timing detail trips up a lot of teams: recommendation systems need time to catch up after a purchase, often several days, before they reflect your new commitment accurately. Buying a reservation and a savings plan back to back, before the system updates, can produce misleading guidance.
A simple decision checklist:
- Right-size workloads first so you’re not committing to spend you don’t need.
- Monitor utilization on any existing commitments before buying more.
- Exchange or convert underutilized reservations rather than letting them sit idle.
- Purchase new commitments only after the above steps, and space out separate purchases.
Governance: organizing subscriptions, tags, and cost allocation
Clean reporting starts with structure, not tooling. Design your subscription and management-group hierarchy to mirror how your organization actually assigns ownership and budget, whether that’s by department, environment, or business unit. Retrofitting structure after the fact is far more painful than planning it upfront.
Tagging is the next layer. Tags let you slice costs by project, owner, or cost center inside Cost Analysis, but it’s worth knowing that tag inheritance in Cost Management only changes what you see in reporting views. It doesn’t write tags back to the underlying resources, so you still need resource-level tagging discipline if other tools depend on those tags.
For shared costs, like a shared App Service plan or a networking resource used by multiple teams, cost allocation rules let you split charges proportionally without physically reorganizing resources. Reserve a full reorganization for cases where the shared-cost pattern becomes permanent rather than occasional.
Quickstart checklist: 8 steps to start monitoring and controlling Azure spend
Getting visibility into your Azure spend doesn’t require a big project. Here’s a practical first-week path:
- Pick your starting scope (subscription is usually easiest) and confirm you have at least Cost Management Reader access.
- If you’re on a brand-new subscription, expect a short delay before cost data populates fully.
- Open Cost Analysis and review the built-in smart views before building anything custom.
- Save a custom view for the breakdown you’ll check most often, such as spend by resource group.
- Set up a scheduled export so recurring reports don’t depend on manual downloads.
- Create a monthly budget with at least one action-group notification tied to it.
- Turn on anomaly alerts so unexpected spikes surface immediately, not at month end.
- Right-size your workloads, then run reservation and savings-plan recommendations before purchasing anything.
Pro Tip: Build your budget and your anomaly alert in the same sitting. They catch different problems, and setting them up together means you won’t forget the second one.
When to handle Cost Management in-house and when to bring in support
A single subscription with a small, stable workload is usually fine with in-house ownership: one engineer checking Cost Analysis weekly and a budget alert covers most of the risk. Once you’re running scheduled exports, multiple action groups, and recurring reservation reviews across several subscriptions, the operational load starts to look like a part-time job on its own.
That’s typically where a managed IT partner earns its keep, operationalizing exports, routing alerts to the right people, and reviewing reservation recommendations on a schedule instead of whenever someone remembers.
— Jeffrey
How Mavericks Office Solutions helps you control Azure spend
Keeping Azure costs in check takes the same discipline as any other part of your technology stack: someone needs to watch it consistently, not just when the bill looks high. Our team at Mavericks Office Solutions pairs cloud hosting with 24/7 monitoring and a USA-based help desk, so budget alerts, anomaly notifications, and reservation reviews get acted on instead of sitting in an inbox.

If you’d rather hand off the day-to-day monitoring and let a dedicated team manage the alerts, exports, and optimization cycle for you, our managed IT services page is the place to start.
FAQ
What is the Azure Cost Management tool?
Azure Cost Management is Microsoft’s built-in suite for analyzing, monitoring, and optimizing Azure spend, including Cost Analysis, budgets, alerts, and exports. It comes included with every Azure subscription and works at multiple scopes, from a single resource group up to an entire billing account.
What is the difference between Azure Advisor and Azure Cost Management?
Azure Cost Management focuses on analyzing and controlling what you spend through budgets, alerts, and reporting. Azure Advisor is a broader recommendation engine that also covers performance, reliability, and security, with cost recommendations as one part of its scope.
What is required to use Azure Cost Management?
You need an active Azure subscription and appropriate access, such as Cost Management Reader for viewing or Contributor for configuring budgets and exports. No separate license or sign-up is required since the tools are built into the Azure portal.
What is the difference between Cost Management and the pricing calculator in Azure?
Cost Management analyzes costs you’ve already incurred and helps you monitor and optimize ongoing spend. The Pricing Calculator is a planning tool you use before deployment to estimate what a new architecture would cost.